Showing posts with label mysql. Show all posts
,

Add Edit and Delete Records with Basic PHP and MySQL


First, prepare your database. 


In my case, i named my database as ks_add_edit_delete and 
my table as info.

Next, Create your configuration file to connect in your database. 

Create a new file and name it as config.php
#Image Creating a config.php
Open config.php in your text editor and insert this code.

Next is to create your index.php in your host directory and copy the following codes.

Do not forget to require the config file you created earlier.

Create html tags and insert <h1> tags inside the <body> as a page title reference.
<a> tag is also added that is pointing to add.php that you will be creating later.

After it, Create a table where you want to display your records.
Place the following code below to fetch all the records from the database and display it on the table body.

Next is for adding a new record. You need to create a new page and name it to add.php.

Create a form with your fields in the add.php

Validation needs to be done after the declaration of the variables that we will be needing in the result summary or errors.

Next is the edit.php, It is like the add.php but you need the id of the record in order to fetch the data stored in your database.

Lastly is delete.php . Get the id of the record and delete the row where the value of the id matches.

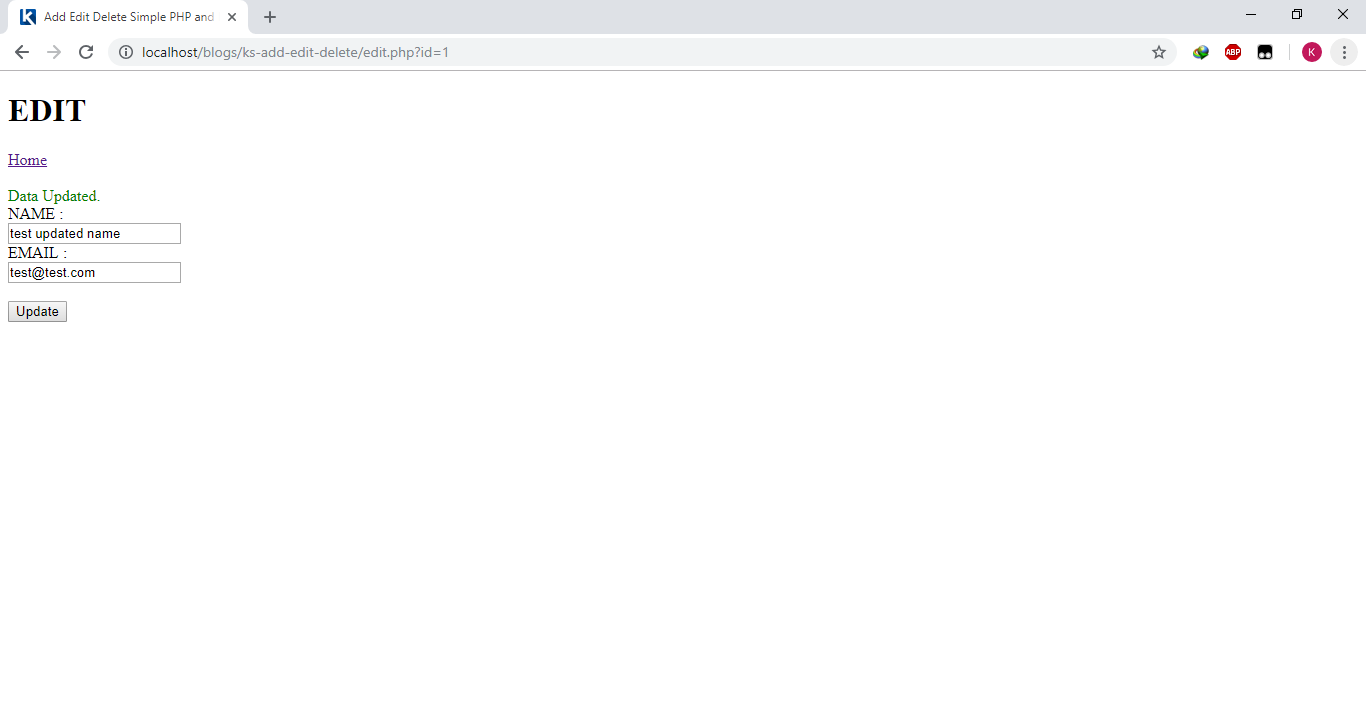
Your final output should look like the following.


You can download the full source code below.

SOURCE CODE
1. Download the source code & place it on your host.
2. Create a database ‘ks_add_edit_delete’.
3. Import the sql file located at the source code's folder.
4. Test it on your host.

DOWNLOAD IT HERE -> DOWNLOAD

Enjoy !
Please share this if you find it helpful. Thank you.
Share:
Read More
, , , , , ,

Display Top Selling Items using PHP, MySQL, and Bootstrap 4


Wondering if you can display all the top selling items from all of your sales with their total quantity and total amount.

Yes, in this article will show you a simple way for achieving that.

Prepare your tools for making this project. I am using the following below. (May differ from what you are using but you can use your alternatives as long as it does the same job)

  • XAMPP (Or any other Web Host with MySQL DB Local/Online).
  • Code/Text Editor (I am using Sublime 3)
  • Bootstrap and Font Awesome


Prepare your database ks_top_items and a table inside of it with the following fields.


Populate your database table so we can later fetch all the data and display in the main page.
Name your product and its unit price; declare the quantity that been sold or taken out, and the date of sale from the word itself. You can create this sample.


You can create rows as much as possible you can better compare the difference of each items from their quantities and total amount.


Create your project directory and start creating your configuration file, config.php.


Declare your $database with the database name you created earlier.
Your main page, index.php.
Do not forget to require your configuration file as follows.


Write the html page. Include Bootstrap 4 required sources in head and before end of the html like from the sample. (I am using the downloaded sources of bootstrap).

Inside the html <body> we will be needing a form and a table elements. <form> for building the query of user and the <table> for showing the results.
Your form should have the date range and the count of rows to display. Look like the following.


Your <form> element contains this following code.

The <table> element display the rank, product, unit price, total quantity, and total amount.

 Your <table> element contains this following code.

When user search with the date range and row limit, the final output of the project will be the following.


You can download the full source code below.

SOURCE CODE
1. Download the source code & place it on your host.
2. Create a database ‘ks_top_items’.
3. Import the sql file located at the source code's folder.
4. Test it on your host.

DOWNLOAD IT HERE -> DOWNLOAD

Enjoy !
Please share this if you find it helpful. Thank you.

Share:
Read More
, , ,

Login Logout using PHP and Mysql with Bootstrap 4

Login Logout using PHP and Mysql with Bootstrap 4


Hi! Good Day, This is my first blog so i hope you'll enjoy it.

Please do support my blog, It is much appreciated. Cheers!

First we will be needing the following.

  • Web Hosting - Apache & MySQL support (I am using XAMPP to be able to run on localhost)
  • Bootstrap 4 & jQuery
  • Text Editor like Notepad++, VS Code, etc. or any text editor you preferred and comfortable. (I am using Sublime Text 3)

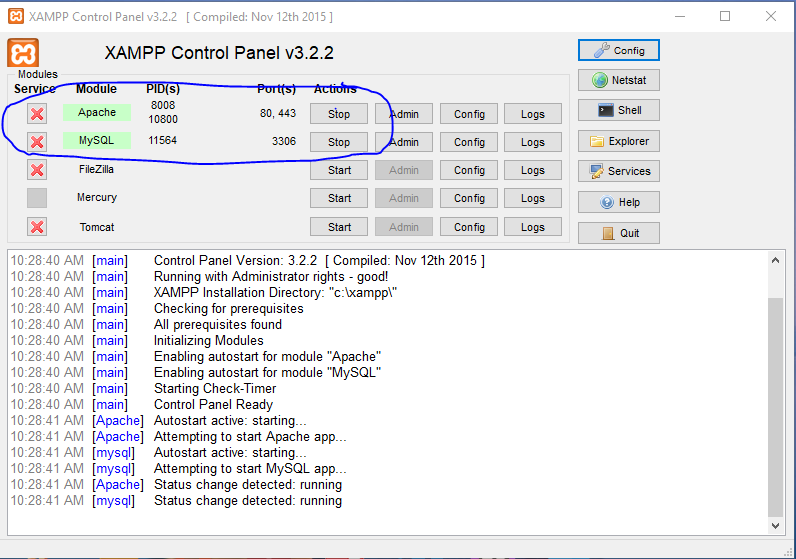
Open and run XAMPP.

Make sure you are running Apache & MySQL on.


Create a new database. Name it as you like. I am going with 'ks_login_logout'.


Create a 'users' table under the 'ks_login_logout' database.

We are going to use the following fields: 'user_id','username','pwd','fname','lname'


Next is preparing the work space.

Go to your work space directory and create a folder 'assets' where i can put bootstrap and other resources.
This is just the way i organize my codes but not necessary.


I am using Bootstrap 4 as a front end template. You can download the source file here -> DOWNLOAD BOOTSTRAP 4 or you can just link it from online to your project using BootstrapCDN


Open an extract the Bootstrap 4 Source files inside the 'assets' folder

Create a  new folder in main directory and name it 'ks-login-logout'. This is where the main code goes.

In this section we will create the following php files .

  • 'config.php' - This is the config file containing the mysql credentials when connecting in a database.
  • 'index.php' - This is the default page that will load when accessing your project and can serve as a login page.
  • 'home.php' - Page where the authenticated user goes after success login.
  • 'logout.php' - Page where the authenticated user triggers to logout and going in the index page after.

SOURCE CODE

1. Download the source code & place it on your host.
2. Create a database 'ks_login_logout'.
3. Import the sql file located at the source code's folder.
4. Test it on your host.

Enjoy !


Download the source here - DOWNLOAD

php, mysql, bootstrap4, php login logout

Share & Support. Thank you !

-ksolutionsph

Share:
Read More