,

Add Edit and Delete Records with Basic PHP and MySQL


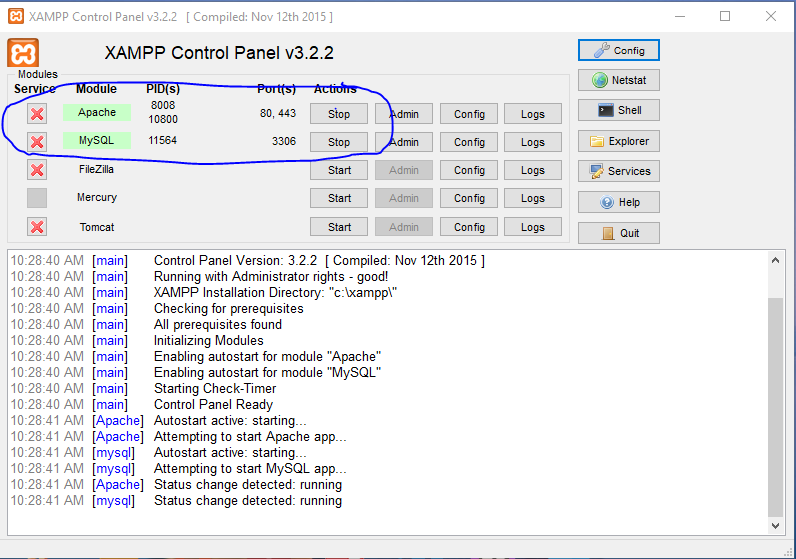
First, prepare your database. 


In my case, i named my database as ks_add_edit_delete and 
my table as info.

Next, Create your configuration file to connect in your database. 

Create a new file and name it as config.php
#Image Creating a config.php
Open config.php in your text editor and insert this code.

Next is to create your index.php in your host directory and copy the following codes.

Do not forget to require the config file you created earlier.

Create html tags and insert <h1> tags inside the <body> as a page title reference.
<a> tag is also added that is pointing to add.php that you will be creating later.

After it, Create a table where you want to display your records.
Place the following code below to fetch all the records from the database and display it on the table body.

Next is for adding a new record. You need to create a new page and name it to add.php.

Create a form with your fields in the add.php

Validation needs to be done after the declaration of the variables that we will be needing in the result summary or errors.

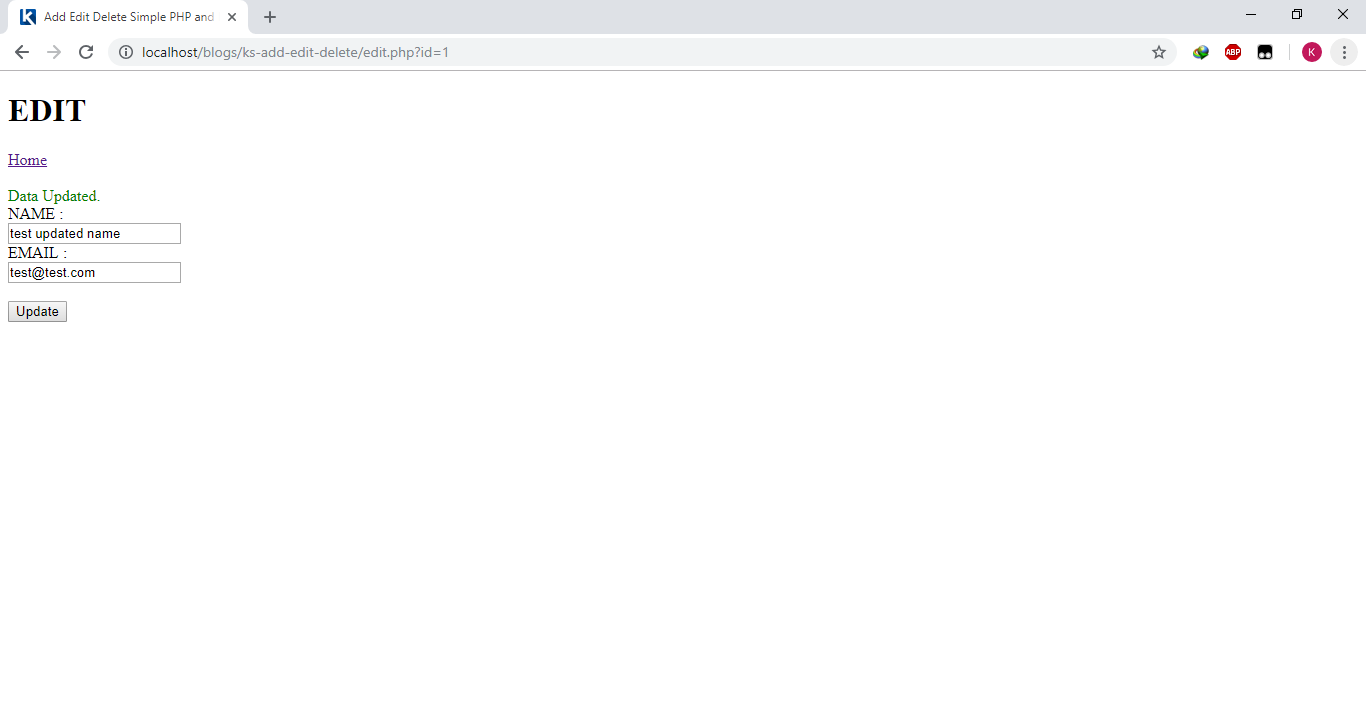
Next is the edit.php, It is like the add.php but you need the id of the record in order to fetch the data stored in your database.

Lastly is delete.php . Get the id of the record and delete the row where the value of the id matches.

Your final output should look like the following.


You can download the full source code below.

SOURCE CODE
1. Download the source code & place it on your host.
2. Create a database ‘ks_add_edit_delete’.
3. Import the sql file located at the source code's folder.
4. Test it on your host.

DOWNLOAD IT HERE -> DOWNLOAD

Enjoy !
Please share this if you find it helpful. Thank you.
Share:
Read More
, , , ,

Get Age from Date of Birth using PHP


 To get current year/s of age in PHP, You need to find the difference and subtract the date of birth input by the user to the current date.

Prepare your index.php. I am using bootstrap 4 framework and  fontawesome icons as a front-end for this project.

Declare your main page like this.

I declared the class of the <body> as bg-warning for background color purposes. But you can also manipulate using CSS and experiment as yourself.

Inside the <body>, Place a bootstrap card holding by a column and row which holds by a container.

We will need a form to hold the input of user's date of birth. Place this code at the top of the document to handle the submission of the form later and this is where the calculation happen.


After that you can now place this form into the card we created earlier.

Lastly create another card right after the first card we created to display the output age of the user with the use of PHP to verify the user's input.


The output of the project should be like this.

Before user input.


After the user input and submits the form.


You can download the full source code below.

SOURCE CODE
1. Download the source code & place it on your host.
4. Test it on your host.

DOWNLOAD IT HERE -> DOWNLOAD

Enjoy !
Please share this if you find it helpful. Thank you.
Share:
Read More
, , , , ,

Login Page Template using Bootstrap 4


This article shows you a login page created using HTML5 and Bootstrap.

You need to familiarize with HTML5 and Bootstrap.

HTML5 is the latest evolution of the standard that defines HTML. The term represents two different concepts. It is a new version of the language HTML, with new elements, attributes, and behaviors, and a larger set of technologies that allows the building of more diverse and powerful Web sites and applications. This set is sometimes called HTML5 & friends and often shortened to just HTML5.
See: https://developer.mozilla.org/en-US/docs/Web/Guide/HTML/HTML5

Bootstrap is an open source toolkit for developing with HTML, CSS, and JS. Quickly prototype your ideas or build your entire app with our Sass variables and mixins, responsive grid system, extensive prebuilt components, and powerful plugins built on jQuery.
See Full documentation of Bootstrap here: https://getbootstrap.com/docs/4.2/getting-started/introduction/

First is create your index.html using your Code/Text Editor.
Start coding html document.
Dont' forget to include the bootstrap required source files. i also included the font awesome icons. You can get it here. https://fontawesome.com/

I did define the class of the <body> element which is bg-dark to make the entire background dark in color.

Inside the <body> tag.paste this code.
I define the top margins and also padding of the .container for the space using the bootstrap 4 classes. mt-1 to mt-5 for margin, and pt-1 to pt-5 for padding(see here). Inside the container, I create a row with different class using bootstrap grid system to manage display in different screen size devices.

Create a card to hold a two column grid. one for form and the other one for brand. Place them like this.


Now test your index.html to your web browser and the final project should look like this.


You can download the full source code below.

SOURCE CODE
DOWNLOAD IT HERE -> DOWNLOAD

Enjoy !
Please share this if you find it helpful. Thank you.
Share:
Read More
, , , , , ,

Display Top Selling Items using PHP, MySQL, and Bootstrap 4


Wondering if you can display all the top selling items from all of your sales with their total quantity and total amount.

Yes, in this article will show you a simple way for achieving that.

Prepare your tools for making this project. I am using the following below. (May differ from what you are using but you can use your alternatives as long as it does the same job)

  • XAMPP (Or any other Web Host with MySQL DB Local/Online).
  • Code/Text Editor (I am using Sublime 3)
  • Bootstrap and Font Awesome


Prepare your database ks_top_items and a table inside of it with the following fields.


Populate your database table so we can later fetch all the data and display in the main page.
Name your product and its unit price; declare the quantity that been sold or taken out, and the date of sale from the word itself. You can create this sample.


You can create rows as much as possible you can better compare the difference of each items from their quantities and total amount.


Create your project directory and start creating your configuration file, config.php.


Declare your $database with the database name you created earlier.
Your main page, index.php.
Do not forget to require your configuration file as follows.


Write the html page. Include Bootstrap 4 required sources in head and before end of the html like from the sample. (I am using the downloaded sources of bootstrap).

Inside the html <body> we will be needing a form and a table elements. <form> for building the query of user and the <table> for showing the results.
Your form should have the date range and the count of rows to display. Look like the following.


Your <form> element contains this following code.

The <table> element display the rank, product, unit price, total quantity, and total amount.

 Your <table> element contains this following code.

When user search with the date range and row limit, the final output of the project will be the following.


You can download the full source code below.

SOURCE CODE
1. Download the source code & place it on your host.
2. Create a database ‘ks_top_items’.
3. Import the sql file located at the source code's folder.
4. Test it on your host.

DOWNLOAD IT HERE -> DOWNLOAD

Enjoy !
Please share this if you find it helpful. Thank you.

Share:
Read More
, , , ,

Sales Graph/Chart using Chart.js, Bootstrap 4, jQuery and PHP

Somehow, you want an illustration of your sales or other statistical graph for better visualization or comparison in your existing system reports. Here is one of the examples you can use to achieve it using Chart.js.


Chart.js is simple yet flexible JavaScript charting for designers & developers.

You can download and find more examples from chartjs.org.


This article shows you an example of integrating Chart.js with PHP and MySQL to provide a comparison chart on annually sales graph.

Creating a Chart


In creating a chart, it is easy to get started with Chart.js. All that is required is the script included in your page along with a single <canvas> node to render the chart.
Chart.js is using html canvas like this. In this example, we create a bar chart for a single dataset and render that in a page. 


Make sure you have included the chart.js source files in your page. You can download the latest version from their website or use the following from CDN

PHP MySQL

Prepare your database and create sales table. For example.


Next is creating the configuration and main file.

Create your configuration on database connection using a file config.php and write the following code to connect your project in your newly created database. In my case, I name my database as ks_sales_graph.

Declare the following variables according to your development preferences.

$host - your database host address.
$user - database username
$pass - database user password (if any). XAMMP phpMyAdmin default user password is empty.
$database - finally your target database which you want to connect.


Next is the index.php or your main page.

Of course, you will have to require your previously created file, your config.php in order to use your database connection in your project.
In my case, I used Year option to display my sales graph. So when a user select a year option and try to search for it, the following query will be executed.


The data that have been fetch are pass in the JavaScript to generate the graph in your canvas using the variable $data.


The output of your project should generate a chart that shows your sales annually.

You can download the full source code below. 

SOURCE CODE

1. Download the source code & place it on your host.
2. Create a database 'ks_sales_graph'.
3. Import the sql file located at the source code's folder.
4. Test it on your host.


DOWNLOAD IT HERE -> DOWNLOAD

Enjoy !

Please share this if you find it helpful. Thank you.

Share:
Read More
, , ,

Login Logout using PHP and Mysql with Bootstrap 4

Login Logout using PHP and Mysql with Bootstrap 4


Hi! Good Day, This is my first blog so i hope you'll enjoy it.

Please do support my blog, It is much appreciated. Cheers!

First we will be needing the following.

  • Web Hosting - Apache & MySQL support (I am using XAMPP to be able to run on localhost)
  • Bootstrap 4 & jQuery
  • Text Editor like Notepad++, VS Code, etc. or any text editor you preferred and comfortable. (I am using Sublime Text 3)

Open and run XAMPP.

Make sure you are running Apache & MySQL on.


Create a new database. Name it as you like. I am going with 'ks_login_logout'.


Create a 'users' table under the 'ks_login_logout' database.

We are going to use the following fields: 'user_id','username','pwd','fname','lname'


Next is preparing the work space.

Go to your work space directory and create a folder 'assets' where i can put bootstrap and other resources.
This is just the way i organize my codes but not necessary.


I am using Bootstrap 4 as a front end template. You can download the source file here -> DOWNLOAD BOOTSTRAP 4 or you can just link it from online to your project using BootstrapCDN


Open an extract the Bootstrap 4 Source files inside the 'assets' folder

Create a  new folder in main directory and name it 'ks-login-logout'. This is where the main code goes.

In this section we will create the following php files .

  • 'config.php' - This is the config file containing the mysql credentials when connecting in a database.
  • 'index.php' - This is the default page that will load when accessing your project and can serve as a login page.
  • 'home.php' - Page where the authenticated user goes after success login.
  • 'logout.php' - Page where the authenticated user triggers to logout and going in the index page after.

SOURCE CODE

1. Download the source code & place it on your host.
2. Create a database 'ks_login_logout'.
3. Import the sql file located at the source code's folder.
4. Test it on your host.

Enjoy !


Download the source here - DOWNLOAD

php, mysql, bootstrap4, php login logout

Share & Support. Thank you !

-ksolutionsph

Share:
Read More